
I have a handful of shirts that haven't made it to Goodwill. Some, because we haven't made a trip yet. Others, because I really didn't want to get rid of them. They don't fit anymore, but I love them too much.

So rather than giving them away, I decided to hang onto them for longer and make them work for my needs.
The craftroom needed some pizzaz, anyway.

This is a simple enough process, but keep reading to see how I did it.
First, lay out your shirt. You might want to throw it in the dryer real quick to get some of the wrinkles out.

Make sure you got a bunch of straight pins. Kyle thought this was the coolest thing ever.

Start cutting around your shirt. It doesn't have to be perfect or pretty, but I'd leave about 1-2 inches around where you want it to be. More if you're not so good with the sewing.

Now turn your pieces inside out.

This is optional, but I used a tracing pencil and a straight edge to make lines for me to follow.

Pin your sides together.

This can be a long, boring process. I like to turn something on the tv. Enter FRIENDS. Because I can't do anything without FRIENDS on the tv.

w00t! That didn't take long!

Now sew. If you have a line drawn, follow it.

Leave about a 1 1/2 inch gap open. If you want, you can trim off the excess seam allowance now. Flip it back to rightside out.

Stuff that bad dad with some polyester filling.

And then sew the small opening closed. I just handstitch it shut.

And then "throw" it onto whatever. It IS a throw pillow, after all.
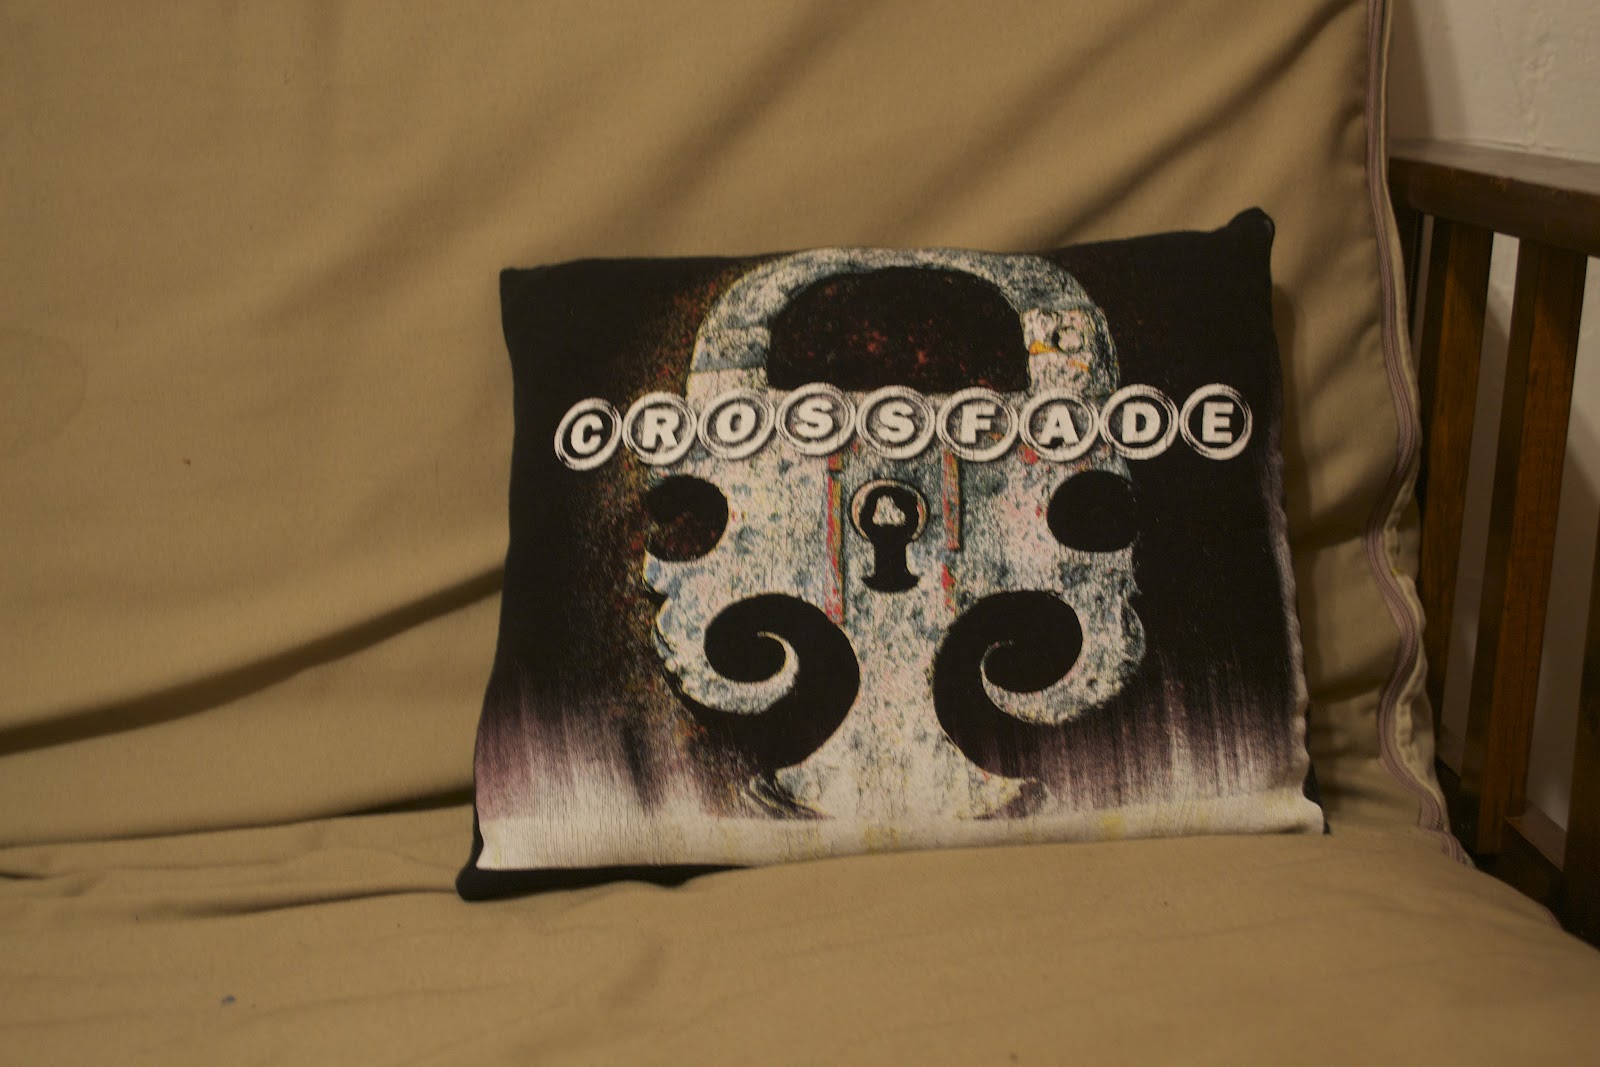
Continue this process with whatever shirts or fabric or whatever you have. It doesn't have to be a square. Or a rectangle.

Play with some shapes and have fun!


No comments:
Post a Comment