Showing posts with label diy. Show all posts

Tuesday, February 12, 2013

Free Pattern: Dish Towel Hangers

Hey everyone! Today, I have a FREE crochet pattern for you! :D This is easy enough for beginners and make a great gift paired with the best crocheted potholders ever!


These are a nice alternative to the crocheted towel toppers that are permanently stuck to the towels. Keep reading for the pattern. :)

Monday, February 11, 2013

Pinteresting: DIY Solid Perfume

When I saw this pin and clicked the picture, I didn't think it'd take me into a wormhole. Honestly. Crunchy Betty's blog? It was amazing. And I stayed on there for about a day. I was hooked. 

I knew I had to try this solid perfume thing.

So I go up to the Hob Lob to grab a 1lb. bar of beeswax. Heh. There was ONE bar marked at $4.99. The rest were somewhere like $14.99. I knew, I KNEW it was a mistake. But I grabbed it, and I took it to the register. Here's how the conversation went:

"Okay, I KNOW this is wrong. I'm in here atleast once a week-" - Me 
"Oh yeah, I know. *laughs* I remember you and your kids." - Sales Associate
"*laughs* Yeeeeah, hard to forget us. Anyway, I'm still iffy on buying this. I figured if anything, I would bring it up here so you guys could retag it correctly." - Me 
"Hang on, let me call back there." - Sales Associate

*phone calls made*

"We're going to go ahead and give it to you for the $4.99 since you're in here so much. Thanks for bringing it to our attention, though!" - Sales Associate
O.O "Okay." - Me

Moral of the Story:
Build rapport with the people working at a store you frequent, and PAY ATTENTION TO THE TAGS.

Anywho.

Over on Crunchy Betty, you'll notice that the "recipe" calls for some essential oils. This is to steer clear from the synthetic oils and all the crap they bring. However, I had no essential oils on hand and I was eager to try it, so I used some of the fragrance oil I had on hand from when I was trying out melt and pours and whatnot. It's scented in Love Spell. I can't hate on it.


For my carrier oil, I used some extra virgin olive oil and, whodathunk? This WORKED. And it works WELL. As in, this is permanently going in my purse, and I need to find more containers and some essential oils and whatnot and make more. A lot more. Because I think I'm in love with this stuff.

  Though I'm not sure how long the scent lasts after the first initial application, do it. You won't be disappointed.

Disclaimer
Grating all the beeswax will fill 2 quart sized freezer bags, but it's a royal pain. I'm not responsible for any frustrations or actions from those frustrations.


Pinteresting: DIY Shaving Lotion

I'm sure you've seen the photo strip here. I'm sure you debated it. Lucky for you, I did it. So, here goes.


So, verdict?

Mine didn't thicken. At. All. As in, it was as runny later as it was before.
However, it DOES work. It gives lubrication (hehehe) to your razor while you're shaving and it does moisturize a bit. I don't recommend using baby oil, but that's personal preference. I've used baby oil and Vaseline prior to this for different reasons, and I've had horrible skin experiences.

I'd recommend using maybe some coconut oil. That may thicken it up to a "lotion" standard. Mine is like water, almost. I can't use coconut oil due to an allergy, so I have no way of telling you if this will help or not. Also, using a thicker lotion may help, too. But give it a shot. It does work, and it lasts a good bit.

Wednesday, February 6, 2013

Pinteresting - Lips Peeling DIY

I'm sure you've seen this one floating around.

http://thebeautythesis.com/2012/11/28/lip-peeling-keeps-your-lips-soft/

In theory, this is going to work great already, based on one simple ingredient.

Olive Oil.

I'm sorry, but that stuff is BEAST. I use it a lot in life, not just cooking. I should probably just go ahead and put one in my bathroom.

Well, I made a batch of this the other night. I don't have pictures, but here's the thing.

This picture shows no ratios.

If you can get your ratios right, this stuff WORKS. You mix it together, and then using your finger put it on your lips. You then use your finger or your toothbrush to scrub your lips, and rinse it off with water. Top your lips with your favorite lip balm (I like Aquaphor Lip Therapy, personally) and you're done.

And they're right. It DOES work. IF YOU GET THE RATIOS RIGHT.

I'm not even gonna lie, I had olive oil/honey/brown sugar dripping all over my chin when I was trying to use this. It was a mess. It WORKS, but it's a mess.

Suggestion? Try it. Make it in SMALL batches, maybe 1/2 tsp. at a time batches. That's about 1-2 uses, depending on how much you need to use. Play around with it. Once I can get the ratios correct, I'll edit this and post what they were.

And super serious, if you're like me and allergic to tree nuts, using olive oil is a GREAT alternative in these DIY things. I can't use coconut oil without pretty much death. Just sayin'.


Friday, October 26, 2012

DIY: Argyle Nails

Okay, to be completely honest, I'm not a huge fan of prints in general. Maybe because I can't really wear them, or maybe I just don't enjoy being "up and up" on the whole fashion thing. I wear a lot of black.

It's the color of my soul. >.<

The only time I can wear any type of print is if it's on my fingernails.
Today, I'm going to show you how to make an argyle print easily.

Here's what you need:


Base coat - To protect your nails
3 colors of your choice
Nail striper in your choice of color
Top coat - To protect it from chipping

Aaaaand here we go.
The photos are pretty self explanatory, but I'm going to type it out as well, because that's just how I do things.


Thursday, October 18, 2012

Pinteresting: DIY Eye Makeup Remover

Original Pin Here.
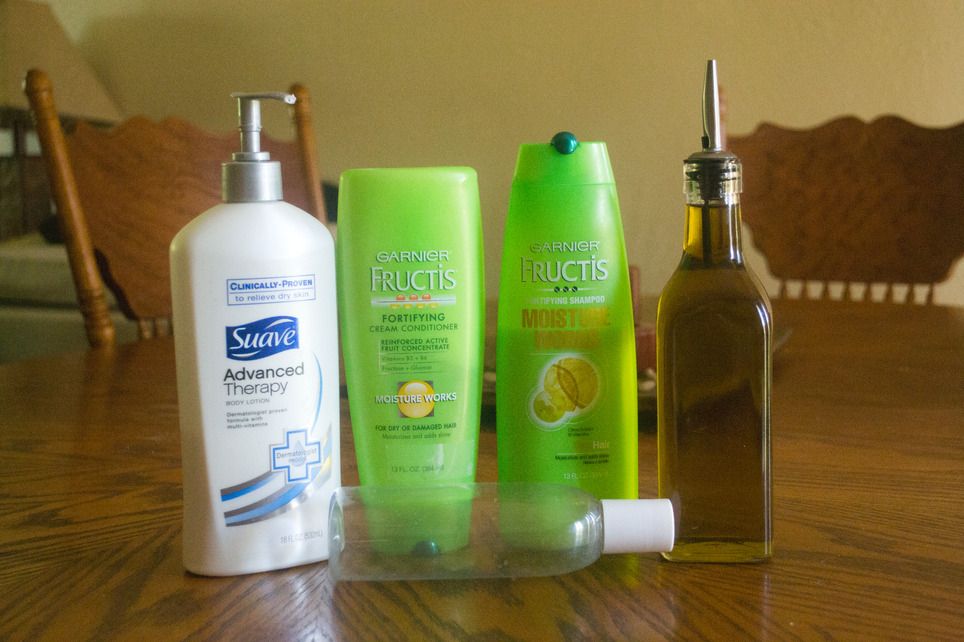
When I saw this, to be honest, I wasn't all that impressed. I have an eye makeup remover that works okay, and when I'm in a bind, I use extra virgin olive oil. Yes, you CAN just use that. It works, and it's very moisturizing for your skin. Unlike other oils, it won't clog your pores. It's just an all around amazement. 

But I figured I'd give it a shot anyway, because extra virgin olive oil can get a bit pricey, and I don't necessarily like all the chemicals in eye make up remover.

The best part about this stuff is you can use it to take the makeup off your face as well.

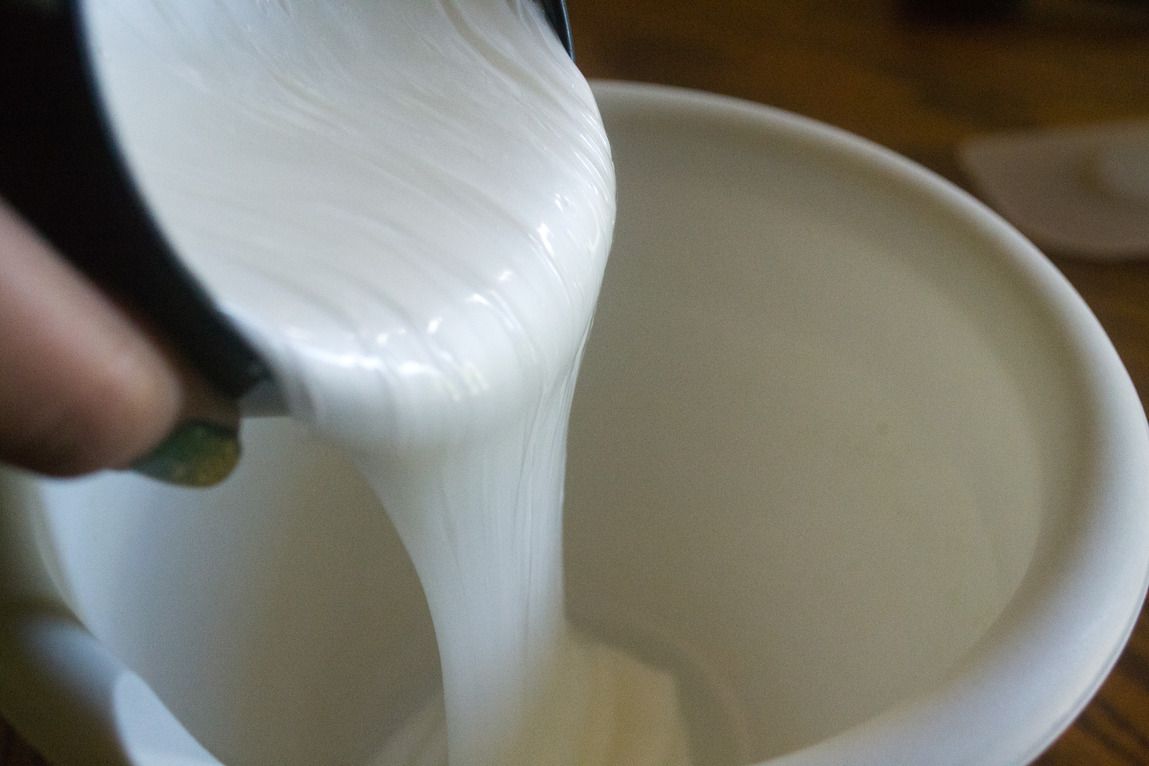
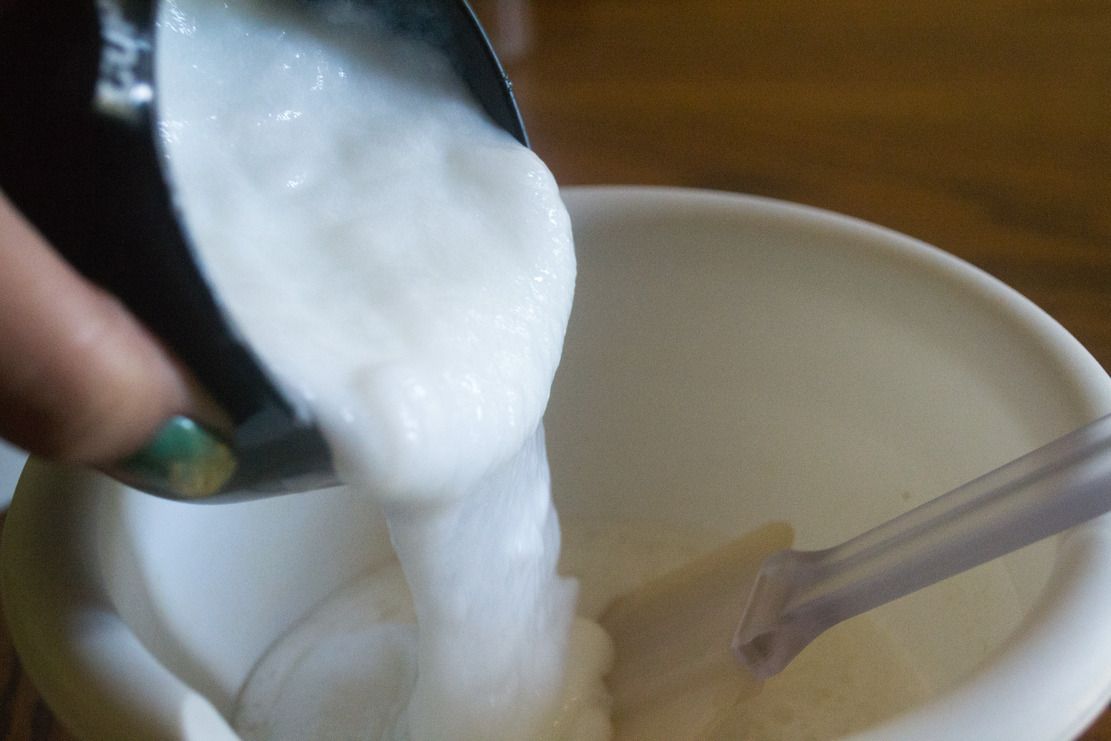
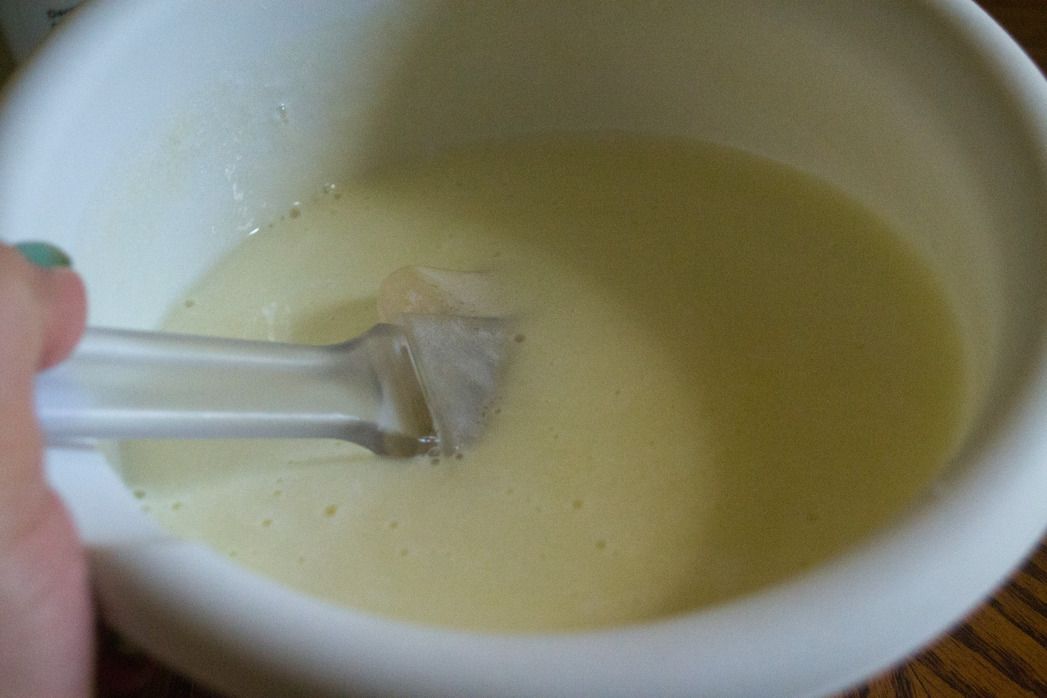
Here's what you're gonna need.


1 c. water
1 1/2 tbsp. tear free baby shampoo
1/8 tsp. baby oil (I don't like using baby oil. I used extra virgin olive oil instead.)

Thursday, October 4, 2012

DIY: Mock Corset Cut Tee

Cut up shirts have been around for...a long time. 

Today, I'm going to show you one way to cut your shirt up.
I'm using one of the tye dye shirts Jesse and I did.


I call it a "mock corset" because the way it's cut reminds me of a laced up corset. Simple enough, huh?
Keep reading to see how I did it.

Monday, August 27, 2012

DIY: Beginner's Photography Backdrop

I don't have any WIP shots for this because...um...I suck.

Honestly, I got WAY way way into it once I started and there was just no time to go get my camera.
Plus, Kyle had to leave for work in a matter of hours and I wanted to make sure I got it done.

This was something that just sort of sparked in my head and I went with.

I used:
2+ yards muslin fabric ($5.89)
Sewology Eyelet Kit ($2.99)
Sewology Eyelet Refills ($3.49)
Tea (FRESH BREWED, over the stove)
Sewing machine + Thread

Things you should use to make your life easier:
Iron

This is literally thrown together. Work with me.

Step 1. Seam all the edges to one nice, flat, level seam. Or, as even as you can get.
Step 2. Pick which side will be your top. Double it over an inch. Sew it into place.
Step 3. Attach your eyelets following their directions in the 1 inch top.
Step 4. Tea dye the fabric (I used the tutorial here).
Instead of tea dyeing, you could just dye it with fabric dye. Throw some tye-dye swirls in there!

Then mount it using hooks onto a bar or even shower curtain thingies. Easy and simple for a beginner to use.

Also, to give you a size ratio, this will work for my kids in portrait all around. Landscape, however, will be a bit difficult. It'll have to be close-ups or them sitting on the floor. Individually, of course. Like I said, this was a "BAM in my head let's run with it" sort of thing, so size wasn't a huge deal for me. If/When I make another one, I'll make it much bigger.

However, I'll need some area to make it work.
Yeah, I heard it in Tim Gunn's voice, too.

I don't have the structure to mount it (yet, that's a WIP) so here's a thrown together set up to give you the idea.
Also, please excuse the lighting.
Double also, my typical sit down for photos child is in school right now. I had to use Gabe. I apologize.


This would be great for a beginner photographer that's wanting to grasp some studio photography practice without shelling out an arm and a leg for backdrops.

Or, you know, the SAHMs like me who try to do everything on a budget, including photographing our kids.

Wednesday, June 27, 2012

DIY Tutorial: Covered Outlet/Light Switch Faceplate

So, I've been seeing a LOT of scrapbook covered things all over Pinterest.
I know. I'm one of them. A Pinterest junkie.
Well, with all the work our house needs, it's the little touches that really stand out to me the most. And that's where this came in.


A small statement.
Large improvement.
If you want to see how I did it, keep reading.

Friday, June 1, 2012

Get back in the kitchen.

This time, no sammich.
No, this is something not edible, but VERY useful.

And VERY cheap.

And honestly, it's probably the best laundry detergent I've used. Bar none.


Looks so simple, right?
That's because it is.

Friday, May 4, 2012

Easy DIY Mother's Day Gift

I live in a housefull of kids, pets, and a forgetful husband. I doubt he can tell you when mother's day is.
Sunday, May 13th.

He remembers the important dates, like my birthday, and our anniversary. So he makes up for it.
Nevermind that they're 7 days apart exactly. And his birthday is 7 days after.

Money is tight pretty much everywhere, which means it's a great excuse to DIY any gift.

Personally, I prefer things handcrafted. I appreciate them a lot more. Nothing can replace something as original as those. Especially from kids. I think most moms see it that way, too.

So, you have young kids? Here's a perfect time to break out your Elmer's glue and popsicle sticks.


Thursday, March 1, 2012

Keeping The Husband Happy.


When my husband saw the finished piece I made for his mom and dad for Christmas, he wanted something like that for our house.

"I'M SICK OF ALL THESE PLAIN WALLS!"

The guy gave me free range of crafting and decorating.

And I. Got. Excited.

First, I started tracing my letters onto some scrapbook paper. I ended up getting the same type of letters that I used for the in-laws gift, but smaller.


Then I had to sit down and paint the board I got.

Saturday, February 25, 2012

Gifts Galore!


I'm a huge nut for Christmas. And with money stretched tiiiiiiiight, I had to make it work. My solution.

DIY GIFTS BABAYYYYY!


This was originally supposed to say "GRANDKIDS", but you can see..I ran out of room. Totally misjudged the letter size. The letters, by the way, were traced onto scrapbook paper, then cut out, then applied. Well. The "GRAND" was. The "Life is.." is from cardstock stickers. I painted the once blank wood piece, then added the lettering, then mod podged the whole thing.