
When I asked my brother-in-law what kind of cake he wanted, he was very blah about it.
"CAKE! I don't care. I just love CAKE!"
>.<
I've personally been itching to try making another checkerboard cake. I've tried making them in the past without having to buy the special pan inserts, but they haven't come out looking the prettiest. So, I decided this would be the perfect time to try again.
The idea of the checkerboard cake is that when you cut a piece out of it, it will have a 3x3 checkerboard pattern on it. I'm doing it in chocolate and vanilla, and you can use food coloring to change the color scheme.
This will be a 3 layer cake, so using 3 cake pans of the same size would be easiest. Seeing as I only have one cake pan, I'll be washing the pan between bakes. That kinda sucks, but it's crazy what I'll do for family.

And so it begins again.
Squeezey Checkerboard Cake
2 sticks butter, softened
2 c. sugar
4 eggs
3 c. flour, divided
4 tsp. baking powder
1/4 tsp. salt
1 c. milk
1 oz (1 square) unsweetened Baker's chocolate
1 tsp. vanilla
Preheat oven to 350.
Generously grease 3 8 inch round baking pans. I'm using one, so I'm having to wash and regrease each time. A pain in the ass, but you can do it.
Cream the butter and sugar together until it's super fluffy. Add eggs, one at a time. Mix well between each egg.
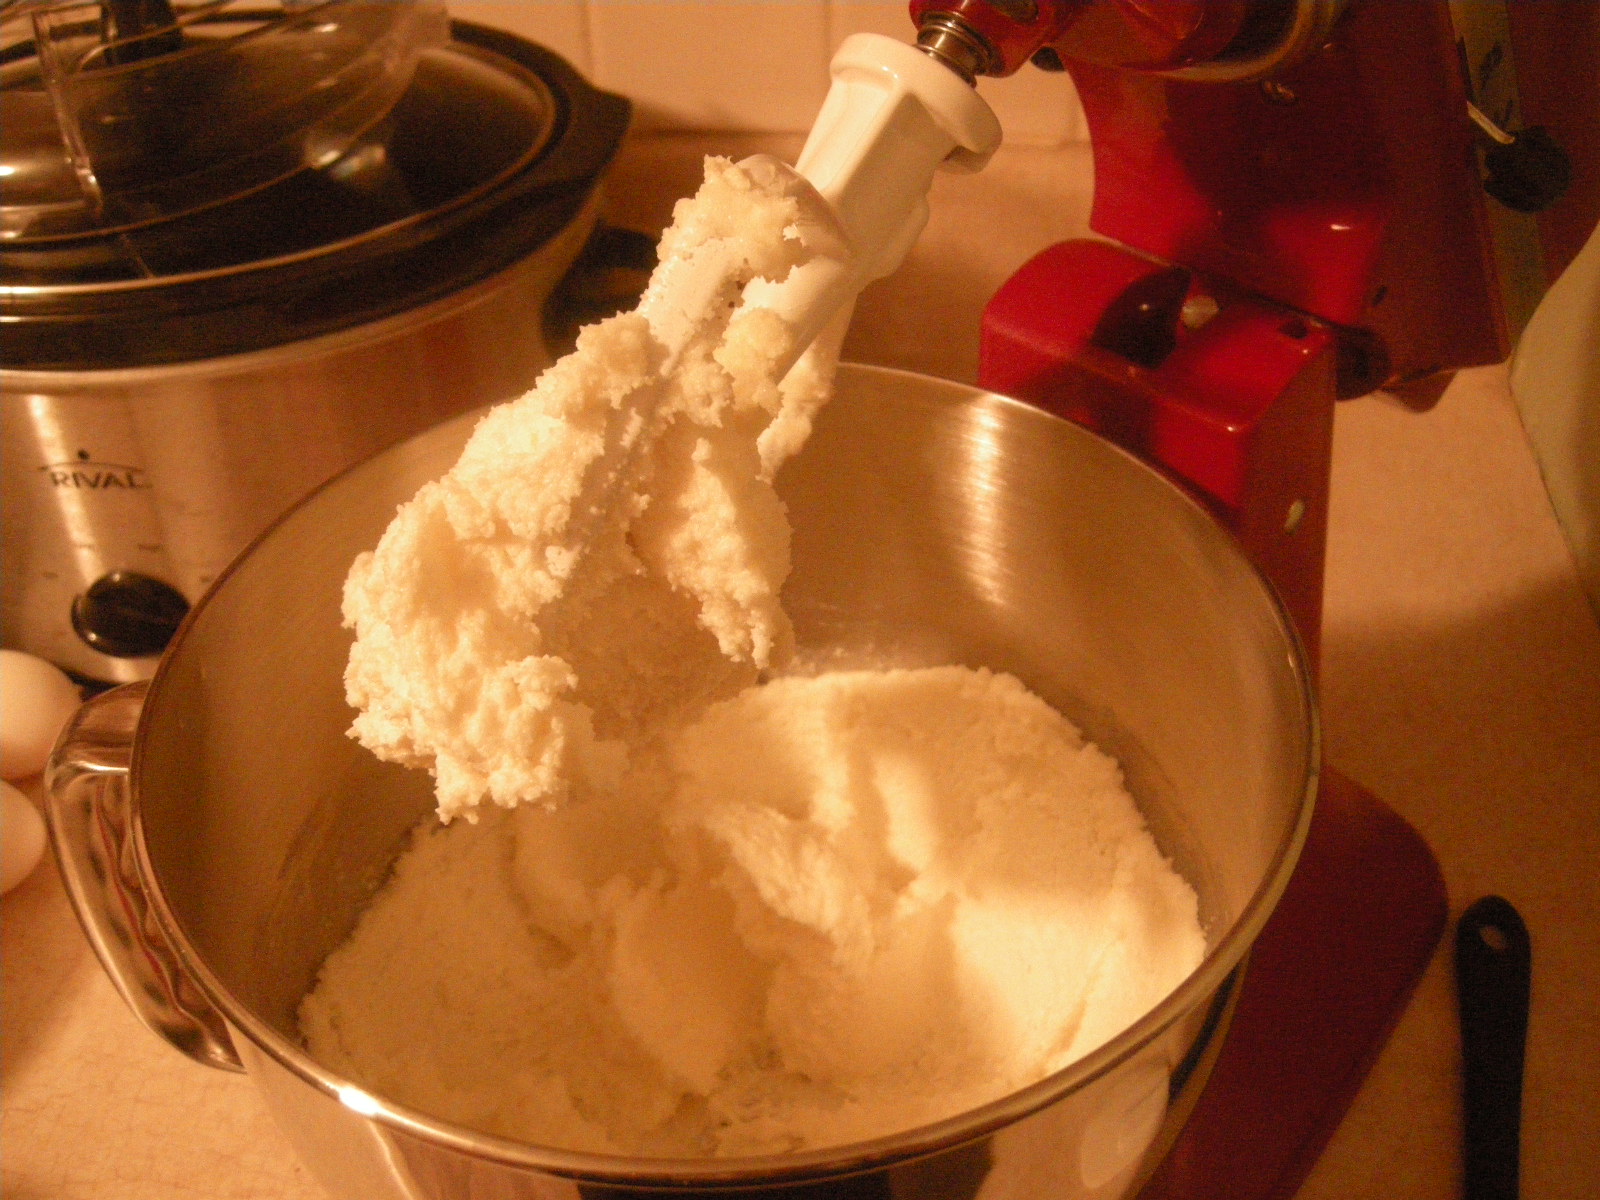

Combine 2 1/2 c. flour, baking powder, and salt together in a bowl. Begin adding that GRADUALLY to your creamed mix, alternating it with the milk.

Mix in vanilla.
Pour as close as you can to half the batter into a separate bowl.

In your white mix, add in the remaining 1/2 c. flour and mix well.
Melt the chocolate and let it cool a bit. You can do this in a microwave at 30 second intervals. Mix the chocolate into your second batter mix.
Now the fun part!
Pour both mixes into separate resealable bags. Squeeze out as much air as possible.

Cut one of the bottom corners off. Not TOO much. This is going to act like a piping bag.
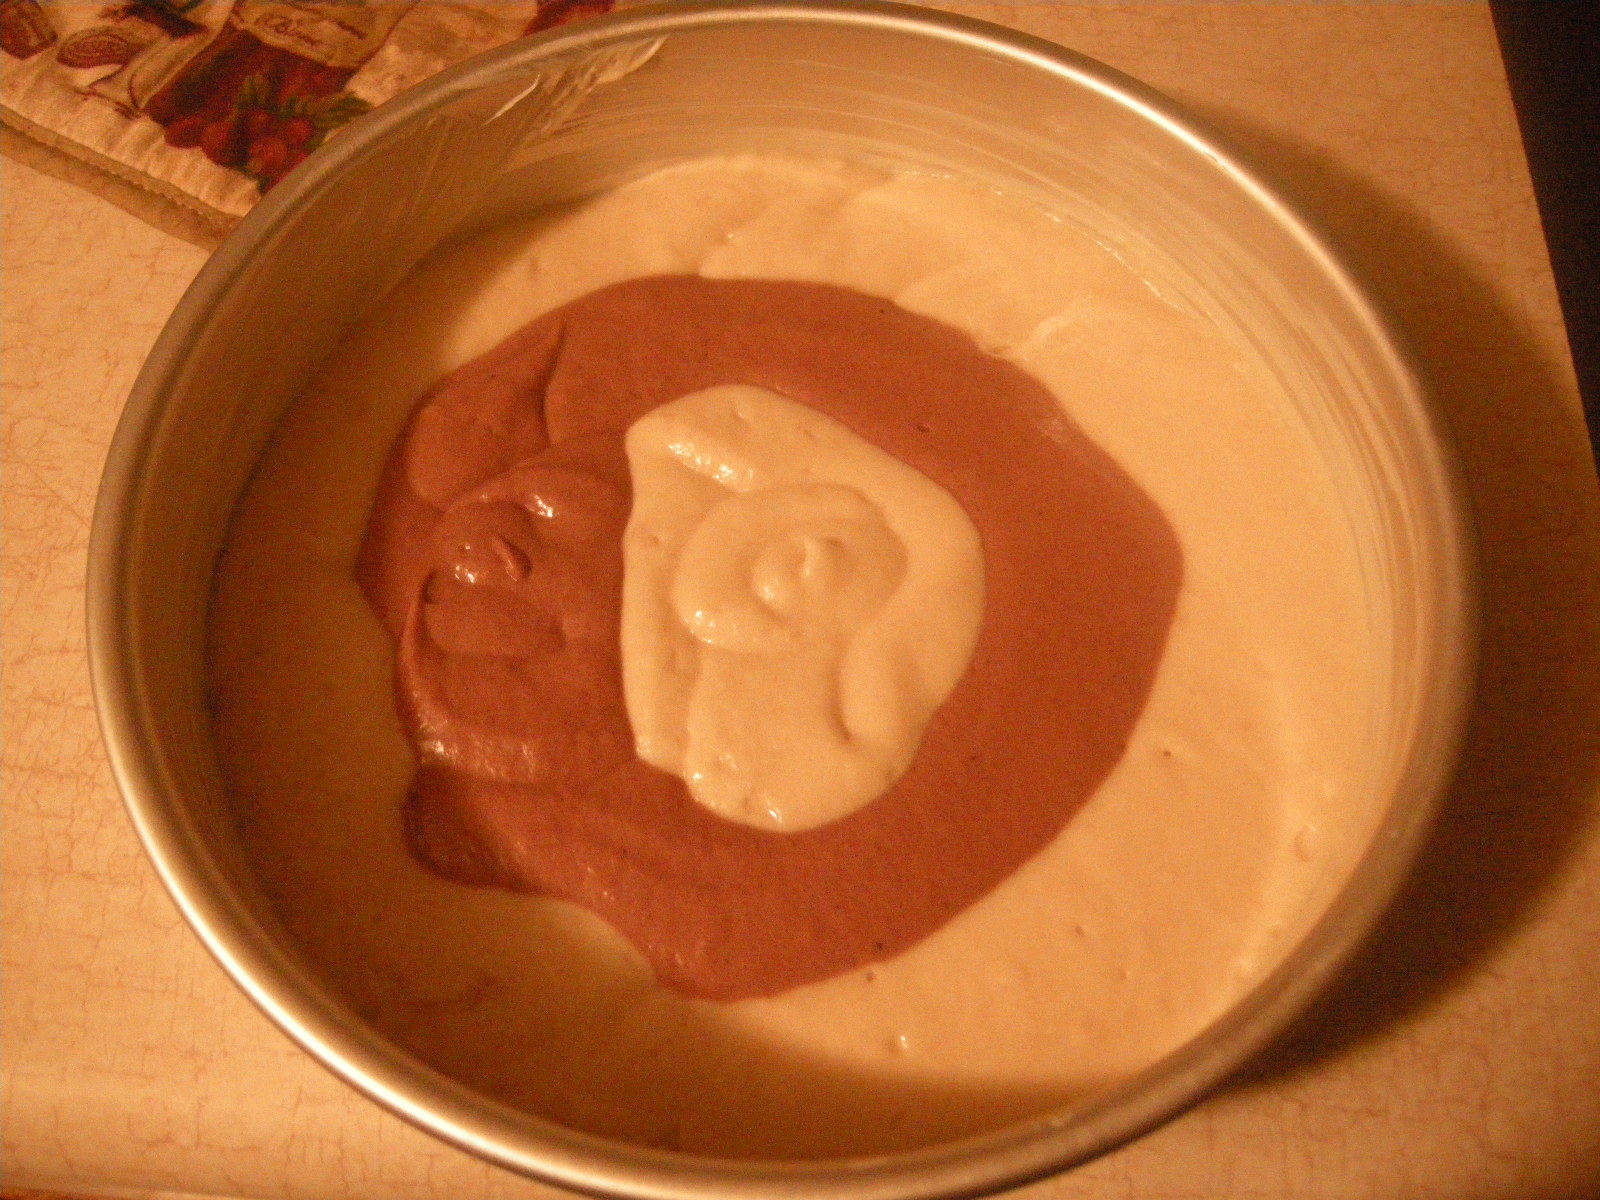
In your first and third well greased round pan, follow the edge and pipe your white mix along the circle, like a big "O".
Then using the chocolate, make another "O" along the inside of the white.
Fill in the middle of the chocolate "O" with white.
In your second pan, you'll do the opposite. Like, where you use the white, you'll use the chocolate. But where you use the chocolate, you'll use the white.
Bake these for 20-25 minutes, until a toothpick in the center comes out clean.

Let them cool in the pan for 5-10 minutes. Then run a butter knife around the edge of the cake a few times. Flip the pans to pop the cake layers out. Trim the top so they're flat on both sides and let them cool COMPLETELY before icing.

For this cake, you can use just buttercream frosting or fondant. I'm using fondant, so either way I'll be using some buttercream frosting.
Buttercream Frosting
3 tbsp. butter, softened
3 tbsp. shortening
7-ish c. powdered sugar, more or less (I used a full 2 lb. bag)
5 oz. (5 squares) unsweetened Baker's chocolate
3/4 c. milk
1 1/2 tsp. vanilla
Cream together the shortening, butter, and 2 c. powdered sugar.

Melt down the chocolate and let it cool. Again, you can do this in the microwave in 30 second intervals. After it's cool, add it to the creamed mix and mix until it's fully combined.

Gradually add the milk and vanilla, and mixmixmix. Then start adding the rest of the powdered sugar, little by little, until you get the right consistency.

Now to ice the cake.

Use one of the white outside layers. Put that on the bottom. Spread some frosting on the top of that. Place the chocolate layer over top of the iced layer and continue. When you put the last layer on, frost the whole cake.


If you're planning on doing fondant, use a THIN layer of frosting. Then let it harden. Then put a thick layer of frosting over the cake and, before it hardens, place the fondant on the frosting and smooth. If you have to store the buttercream, make sure it's in an airtight container. If you're storing it overnight, you can leave it on the counter. But if you have to store it for a few days, keep it in the fridge (away from the Almighty Bad Smells). I'd say to try and use it within 1 week.
How delicious does this look right now?! If it wasn't for my brother-in-law, I'd totally be munching on it.
Ooooh self-control. FML.
No comments:
Post a Comment